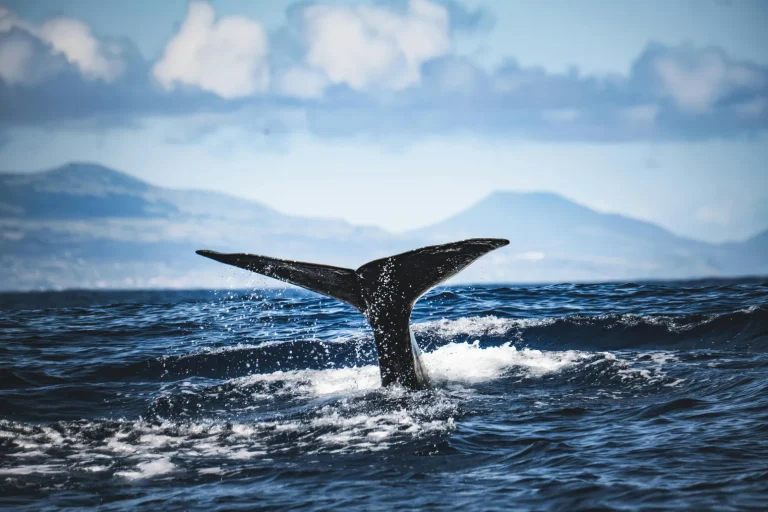
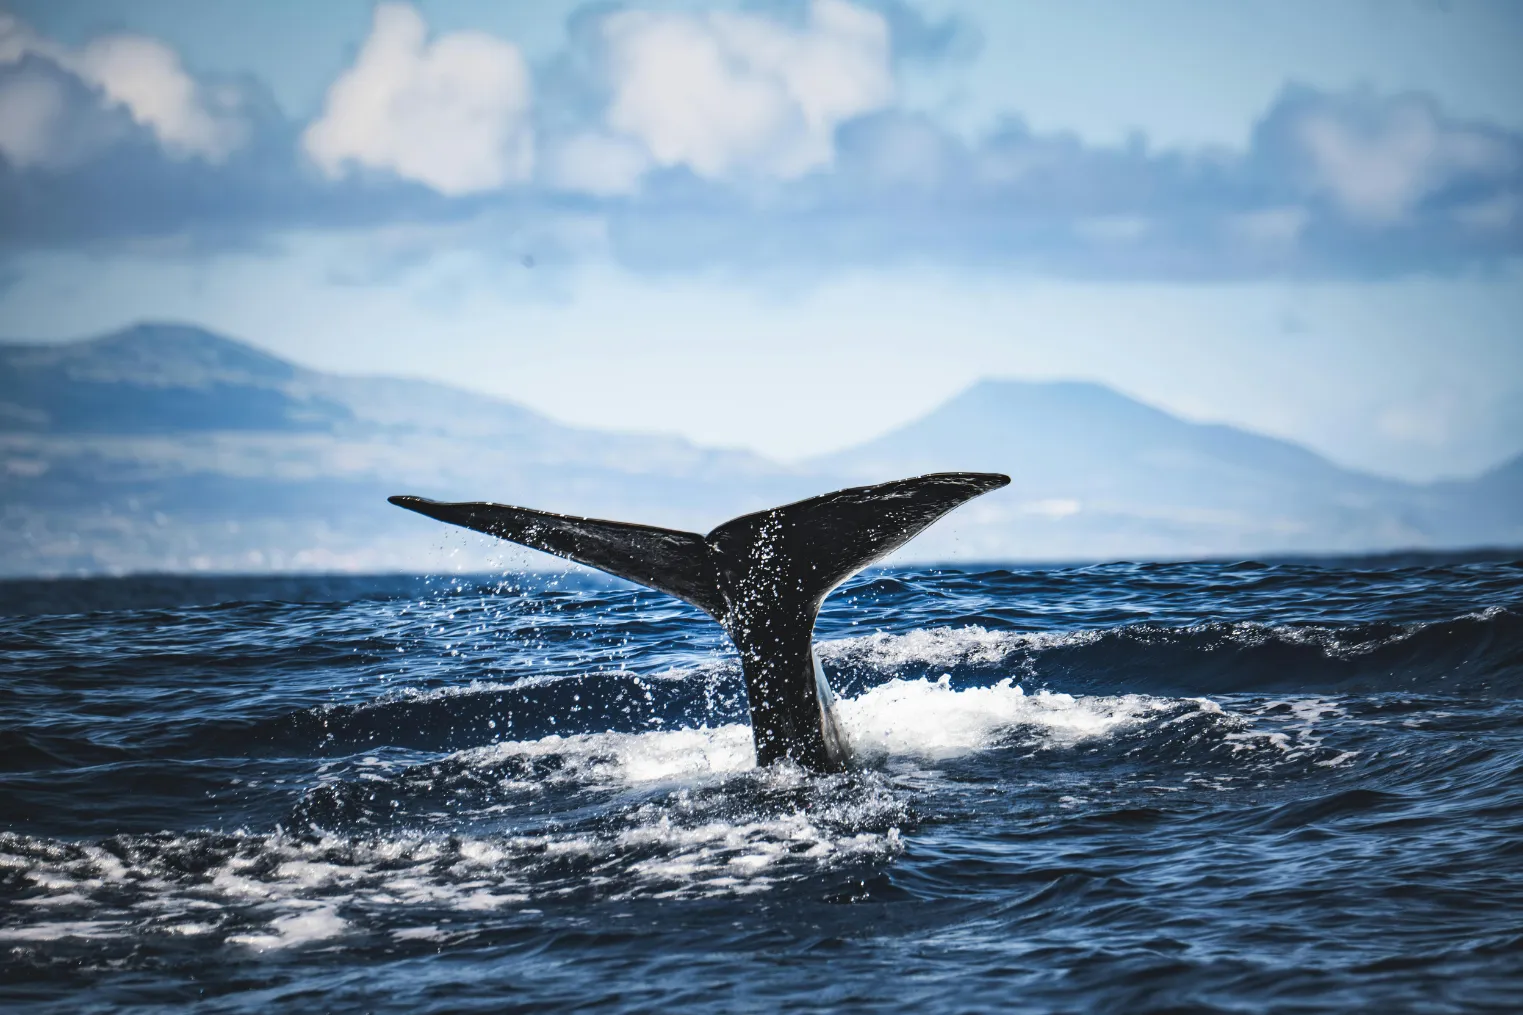
Just as the boat rocks and a slick black back cuts through the gray water, you realize whale watching rewards the camera you’ve already set up right. You need fast shutter speeds, smart Auto ISO, and focus that sticks when spray hits the rail and everyone gasps at once. Get those basics dialed in, and you’ll have a real shot at the breach instead of a blurry splash.
Key Takeaways
- Use 1/2000s as your baseline shutter speed, pushing to 1/2500–1/4000s to freeze breaches, tail slaps, and spray.
- Shoot in Manual with Auto ISO or Shutter Priority, setting an ISO ceiling around 1600–3200 to protect fast shutter speeds.
- Choose f/5.6–f/8 for sharpness and forgiving depth of field, stopping down to f/8–f/11 for flukes and close surfacing detail.
- Set AF-C with a small dynamic or group focus area, and use continuous high burst mode to track fast, unpredictable action.
- Enable stabilization, watch the histogram for bright water glare, and frame slightly wider to allow cropping and sudden movement.
Use These Whale Watching Camera Settings First
Start with speed. On a rocking boat, you’ll get cleaner whale shots if you begin in Shutter Priority or Aperture Priority and keep shutter speed very fast, ideally 1/4000s or at least 1/2000s. Let Auto ISO help as light shifts, or raise ISO manually until exposure looks right without ugly noise. In daylight, many photographers land around ISO 180 to 450, though 100 to 1600 is workable. Aim for f/5.6 to f/8 for a sharp, flexible middle ground, then stop down to f/8 or f/11 if a whale surfaces close enough to spray your lens. Use AF-C with a small dynamic area or group area, turn on Active VR or IS, disable flash, and use continuous shooting with fast cards and spare batteries for bursts. For whale watching photos, these settings give you a strong starting point before you adjust for distance, light, and movement.
Set Shutter Speed for Whale Watching Action
You’ll want a fast shutter speed if you hope to freeze a breach, a tail slap, or that burst of white spray before the boat rocks again. Start around 1/2000s, and if the light’s good, push to 1/2500s or faster so both the whale and your own wobbly deck stay sharp. It’s one of those settings that feels a little ruthless at first, but when you hear the shutter rattle and catch crisp splash detail, it makes perfect sense. If you’re using a GoPro on deck, these whale-watching shots settings help compensate for both subject movement and the constant motion of the boat.
Fast Shutter Speed Targets
Lock in a fast shutter before the first blow or breach steals the scene. On a rocking boat, you need speed to beat whale motion and your own sway. Start at 1/2000s. Push to 1/3200s or 1/4000s when light looks good.
- Use Shutter Priority or Manual with Auto ISO.
- Let ISO rise instead of slowing shutter.
- Stay above 1/1000s in only very calm seas.
- Pair fast settings with continuous AF.
- Add high burst rates for handheld 200 to 500mm lenses.
Check your histogram often. If the meter dips, raise ISO. A slightly grainy frame still looks far better than a soft one, and the ocean won’t wait for a redo as clouds shift overhead while wind, spray, and distance keep testing your timing too. Even when shooting on a phone, focus, zoom, and timing still matter most for catching sharp whale action.
Freeze Breaches And Splashes
Freeze the chaos with shutter speed first. Set 1/2000 to 1/4000 second, and grab 1/4000 when light allows. That speed freezes whale breaching, tail slaps, spray, and the little jolts from a moving boat. If clouds roll in, switch to Aperture Priority or Shutter Priority with Auto ISO, or raise ISO yourself, so you don’t lose speed and underexpose. Pair AF-C with continuous high-speed burst, especially with a long telephoto, and you’ll catch the clean peak of the action instead of empty water. Use VR or IS in Active or Boat mode if your lens offers it, but don’t let stabilization tempt you below about 1/2000. Watch your histogram, review frames often, and tweak settings as sun and sea keep changing through the day. Timing matters too, because the best time to record whale breaches can help you anticipate action and stay ready with fast settings.
Still comparing Best Camera Settings For Whale Watching?
Ask for tour ideas, hotel suggestions, or a simple trip plan that combines both.
Trip Helper
Choose Aperture for Sharper Whale Photos
Start by treating aperture as your focus cushion on a moving boat. You want enough depth of field to forgive boat sway, whale motion, and your own excited tracking.
- Use f/5.6 to f/8 when light allows for steadier keepers.
- Choose f/8 to f/11 for flukes, spray, and more scene detail.
- Open to f/2.8 to f/4 for dramatic breaches or tight portraits.
- Expect razor-thin focus wide open, so precise AF really matters.
- Pair aperture with Aperture Priority or Manual mode to protect fast shutter speeds.
If you can, combine these settings with a spot on the boat that offers best whale watching views so you can track action earlier and frame more confidently. Think of narrower apertures as extra insurance when the deck rocks and the sea hisses. Save wide apertures for special moments, not every pass. Your camera can’t predict a whale, but smart aperture choices can keep more frames tack sharp.
Raise ISO to Keep Shutter Speed High
To stop both the whale’s sudden breach and your boat’s constant bounce, you’ll often need to raise ISO so your shutter stays fast, around 1/2000s or higher. In shifting light, Auto ISO can save you, letting the camera hold that speed when the sun slips behind a cloud and the water turns steel gray. A little noise is usually a better trade than a soft fluke, so it’s smart to know how far you can push your camera before the grain gets ugly. If you’re worried about seasick in Oahu conditions while whale watching, dialing in these settings before the boat leaves the harbor can help you spend less time fumbling with controls once the swells start rolling.
ISO Versus Motion Blur
When a whale suddenly erupts from the water and your boat gives a quick sideways lurch, shutter speed matters more than a perfectly low ISO. Sharp spray beats silky noise control every time.
- Keep shutter speed at 1/2000s or faster
- Push toward 1/4000s for breaches
- Accept ISO 1600 to 3200 if needed
- Stay within your camera’s clean limit
- Check frames and adjust after each pass
On most trips, ISO 100 to 6400 is your workable zone. Older cameras may look best near 800 to 1600. Newer bodies often handle 3200 to 6400 well. If blur appears at 1/500s, raise ISO first. Grain is easier to forgive than a soft tail slap. Use Auto ISO carefully, set your aperture, and protect shutter speed for surprises at sea. For steady footage during whale watching, keeping motion blur under control is just as important as managing noise.
Auto ISO In Changing Light
Out on open water, light flips around fast, so Auto ISO can step in and keep your shutter speed high while the sun ducks behind a cloud or glare bounces off the chop. In Manual exposure, lock aperture and shutter for moving subjects, then let Auto ISO handle the swings. Aim for 1/2000 to 1/4000s, set Matrix metering, and choose an ISO ceiling your camera can tolerate. Bright sun might stay near ISO 100 to 450, which feels pleasantly clean. Since spray and wind are common on tours, wearing weather-ready layers can help you stay comfortable while you keep shooting through changing conditions.
| Setting | Try | Why |
|---|---|---|
| Minimum shutter | 1/2000 to 1/4000s | Freeze breaches |
| ISO ceiling | 800 to 3200 | Limit noise |
Check frames often for glare, and carry fast cards and spare batteries so bursts keep firing when a whale suddenly decides to show off near the bow.
Use Auto ISO, Aperture Priority, or Manual
Because light over open water can flip from bright glare to gray cloud in seconds, Auto ISO is your best friend on a whale watch. Pair it with Aperture Priority to hold depth of field at f/5.6 to f/8.
- Use Auto ISO so exposure keeps up with sun and cloud breaks.
- Choose Aperture Priority when you want steady depth and less fiddling.
- Pick Manual with Auto ISO to lock 1/2000 to 1/4000s and f/6.3 to f/8.
- Use Shutter Priority or Manual when breaches demand a guaranteed fast shutter.
- Cap Auto ISO around 1600 to 3200 so noise stays reasonable.
Binoculars are not essential for photography, but binoculars for whale watching can help you spot distant blows or fins before you raise the camera. That setup lets you shoot bursts from a rocking deck without babysitting ISO. More time watching spouts. Less time muttering at menus while the boat bucks.
Set AF-C and a Small Focus Point
Start with AF-C, then shrink your focus area to a small single point or spot. Continuous AF helps you hold focus as the whale moves, the boat rocks, and the whole scene keeps shifting under bright salt spray. A small single AF point steers autofocus away from splashes, chop, and glittering water. If your camera has back-button focus, use it. You’ll separate focusing from the shutter and keep tracking cleanly. When a whale fills more of the frame, try a small Group Dynamic or Group Area AF pattern for steadier lock without drifting to the background. When planning your gear setup, review first-timer tips so your camera choices match the pace and conditions of a beginner whale watching trip. If the whale stays distant, switch on crop or DX mode. That extra reach keeps your focus point tighter on the body instead of wandering into empty sea.
Shoot Continuous Burst for Breaches and Slaps
Once your AF-C and focus area are working for you, switch the drive mode to Continuous High and let the camera rattle through the whole moment. On a whale watching boat, action builds fast, then vanishes in spray. Start early and keep shooting past the splash. Breaches can happen without warning, and whale breaching is one of the fastest, most dramatic behaviors to capture in a burst.
- Use Continuous High at 9 to 20 fps.
- Keep AF-C with dynamic or group-area tracking.
- Set 1/2000 to 1/4000s, or 1/1000s if calm.
- Frame a little wide so you can crop later.
- Watch buffer, cards, and batteries.
You’re not chasing one perfect frame. You’re collecting the whole sequence, from rise to slap to foam. Fast cards help the buffer clear before the next surprise. Spare batteries matter too, because cold wind and bursts drain power with rude efficiency.
Choose the Best Whale Watching Lens
While the ocean keeps changing the distance for you, a flexible zoom makes whale watching much easier. Your best all-around choice is a zoom lens like a 100 to 400mm or 70 to 200mm. Add a 1.4x teleconverter or use DX mode when you need more reach. That setup lets you catch a sudden surfacing near the boat, then swing to a distant breach without fumbling.
Pack one wider zoom too, such as 24 to 105mm or 24 to 200mm, for pods, horizon lines, and surprise close passes. If whales stay far out, a 200 to 500mm or even 400 to 600mm can help, if you can handhold it steadily. Keep lens swaps rare on salty, moving boats. Your camera will thank you later. On Oahu, different boat styles can affect how close you get and how much lens flexibility you need.
Stand on Deck for Better Whale Photos
Stay on the main deck if you want whales to look big and powerful in your frame, because shots from up high often force you into wider views that flatten the moment. You’ll usually get more room and fewer raised phones on the back right-hand side than at the crowded bow, which makes it easier to work a 100 to 400mm or 70 to 200mm lens. And when the captain nudges the boat a few seconds to your side, you can pivot fast and catch the splash, the dark curve of a back, and maybe a tail before everyone upstairs even finds it. Arriving early for whale watching check-in also helps you claim a strong deck position before the best rail spots fill up.
Deck-Level Composition Advantage
If you want whale photos that feel big and alive, claim a spot on the main deck instead of heading for the upper level. From a deck-level view, whales look larger, closer, and more dramatic the instant they surface. This same low-angle perspective can also help when shooting from shore viewpoints on Oahu, where stable land-based positions make timing surfacing whales easier.
- Telephoto lenses fill the frame better at 70–200mm or 100–400mm.
- Eye-level scale cues feel natural with people, hands, or seabirds nearby.
- Horizon lines stay cleaner, so your compositions look steadier and sharper.
- Water spray, flukes, and slick dark skin add texture without visual clutter.
- A quick five-second sidestep helps you place the whale exactly where you want.
You also gain better control over foreground and background while keeping fast shutter speeds and wide enough apertures for crisp detail. It’s practical, flexible, and a little addictive.
Avoid Crowded Upper Views
That deck-level advantage gets even stronger when you skip the crowded upper views and claim open space on the main deck. A higher angle often makes whales look smaller, so you lose that jaw-dropping sense of scale. Front-of-boat elevated positions also fill up fast, usually with phones in the air and elbows doing their own migration. Move to a quieter spot instead, especially the rear right-hand side, where you get cleaner sight lines and room to frame the whole body. This is especially useful on Kewalo Basin whale watching tours, where quick boat turns can change your best shooting angle in seconds. You can also react faster when the captain pivots the boat and the action switches sides in seconds. From deck level, you can add people or circling birds in the foreground, which helps the whale look truly massive. Better view, better framing, fewer accidental heads.
Use the Rear Right Side for More Space
For the easiest shooting room on a whale boat, head to the rear right side of the deck. You’ll find fewer people there, so you can swing a long focal lens without clipped fins or elbows.
- Fewer iPhone shooters means cleaner sightlines and fewer surprise bumps when the rail gets lively.
- Captains often turn for visibility, so whales are likely to surface on your side.
- You usually need only a quick five-second shuffle to keep them framed.
- Extra deck space makes hand-holding 100 to 400mm or 70 to 200mm glass steadier.
- It’s also safer to change lenses in the steering house, with your strap looped on.
You stay on deck level too, which feels calmer when the wind slaps salt across your face hard. If you’re leaving from Honolulu Harbor, arriving early also gives you more time to claim this quieter rear-right spot before the deck fills up.
Compose Whale Photos for Scale and Context
When a whale surfaces close to the boat, resist the urge to fill the frame with nothing but blubber. From the deck, use available light and a wider focal length. Add people, rails, seabirds, or shoreline. A humpback whale looks bigger when you show what surrounds it. On Oahu trips, watching for surface behaviors like blows, breaches, or fluke lifts can help you anticipate the moment and frame more compelling wide shots.
| Add this | Why it works |
|---|---|
| Boat rail or person | Gives instant size reference |
| Birds or shoreline | Builds distance and ocean context |
| Offset whale placement | Suggests motion and scale |
Keep the whale off-center and leave space ahead of its path. Include spray or water streaming off a fluke for movement. If the whale is farther out, use crop mode or 100 to 400mm, but still keep context. Stay near 1/1000 to 1/2000s at f/5.6 to f/8 for sharp detail.
Anticipate Surfacing to Time Your Shots
As the water settles after a dive, start reading the whale’s last heading and speed instead of staring at the exact spot where it vanished. That small shift in attention helps you predict where the next blow will appear.
- Reposition for about five seconds toward that future point. You’ll often land on the better side.
- Aim slightly ahead of the whale, not behind. It’s moving, and it usually surfaces forward.
- Keep AF-C and continuous burst on. Make sure your finger stays ready on the shutter.
- Watch for fluke lifts, circling, or birds suddenly tracking one patch of water.
- Hold at least 1/2000s shutter speed and bump ISO fast when light changes.
On many Oahu whale watching tours, guides also help spot surfacing patterns early, which can give you a better chance to pre-frame the action. Then fire the instant you sense a breach, before your brain asks questions.
Protect Camera Gear From Salt Spray
Between sightings, treat salt spray like a quiet little thief that’s always looking for a way into your camera. Keep it in a waterproof camera bag or dry sack, then stash it in the wheelhouse or a sealed compartment. If you use mobility boarding tips, keep your camera packed away until boarding is complete and you’re settled safely on deck. Use weather-sealed gear if you can, and tuck silica gel packets inside.
| Do | Why |
|---|---|
| Cover camera fast | Blocks sudden spray |
| Wrap strap on wrist | Adds security |
| Change lenses inside | Keeps salt out |
| Rinse, pat dry later | Cuts corrosion |
On deck, loop the strap around your wrist or neck and keep a rain sleeve ready. After the trip, rinse with fresh water, pat dry, wipe contacts, and stay at least mildly suspicious of crusty salt. Never swap lenses outside when waves slap and the air tastes briny.
Avoid Common Whale Watching Camera Mistakes
Most missed whale shots come from a few fixable habits, not bad luck. On a rocking deck, small setting mistakes get loud fast.
- Keep Shutter speed at 1/2000s or faster. Raise ISO or open aperture before you let motion blur win.
- Stick with one versatile zoom. Changing lenses at sea invites salt spray, fumbling, and vanished breaches.
- Use a real camera with continuous high burst mode, AF-C, and fast cards. Phones hesitate when the splash happens.
- Skip wide-open apertures when focus feels twitchy. Try f/5.6 to f/8 for more keeper frames.
- Don’t trust monopods or heavy stabilization tricks. Handhold firmly, use Active VR if offered, and pan with the boat.
You’ll hear gulls, feel spray, and still be ready when a tail slaps nearby. In Hawaii, respecting safe distances from whales also gives you more time to track behavior calmly and frame cleaner shots.
Frequently Asked Questions
Can I Use Image Stabilization While Shooting Whales From a Moving Boat?
Yes, you can use image stabilization from a moving boat; it helps counter lens vibration. Keep your shutter fast, use Active/Boat mode if available, and check gimbal compatibility. Don’t rely on stabilization alone for whale shots.
What Should I Wear for Comfort During a Whale Watching Photo Trip?
You’ll stay comfortable by wearing layered clothing, non slip footwear, a warm hat, waterproof gloves, and polarized sunglasses. Add sunscreen and a waterproof pouch, and avoid loose scarves or dangling straps around your camera gear.
How Do I Prevent Seasickness While Trying to Photograph Whales?
Steady yourself like an anchor: choose midship, bend your knees, and watch the horizon to fight motion sickness. You’ll help pressure points with wristbands, take meds before boarding, sip water, and seek fresh air quickly.
Are Drones Allowed for Whale Watching Photography in My Location?
Maybe, but you’ll need to check drone regulations first, because many places ban flights near whales to prevent wildlife disturbance. You should review NOAA, park, and operator rules before launching, or you could face fines.
What Time of Day Offers the Best Light for Whale Photos?
Choose early morning or late afternoon; you’ll get the best whale light during golden hour, with warm tones and softer contrast. You’ll also avoid harsh midday glare and handle backlight challenges easily on the water.
Conclusion
You’ll get better whale photos when you set the camera before the first blow appears and trust fast shutter speeds once the action starts. Keep your lens dry, your stance steady, and your eyes on the water’s slick dark patches and sudden white spray. What’s more thrilling than hearing the deck slap under your shoes just as a tail lifts into clean morning light? Stay ready, shoot in bursts, and let the ocean surprise you.