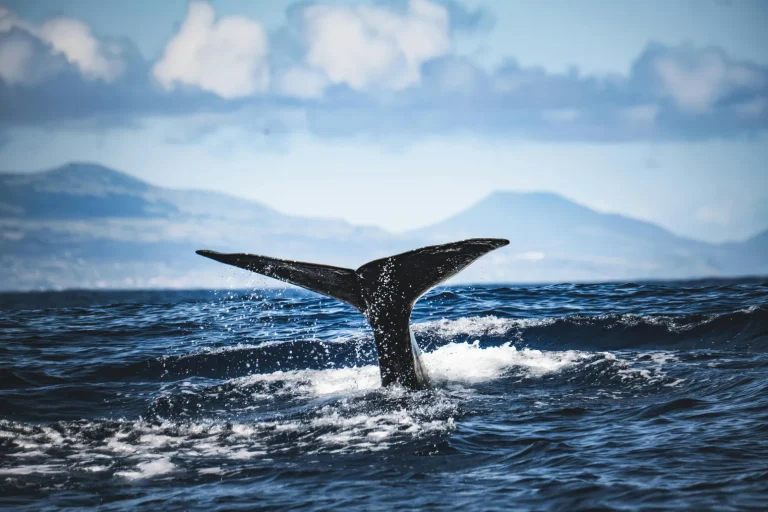
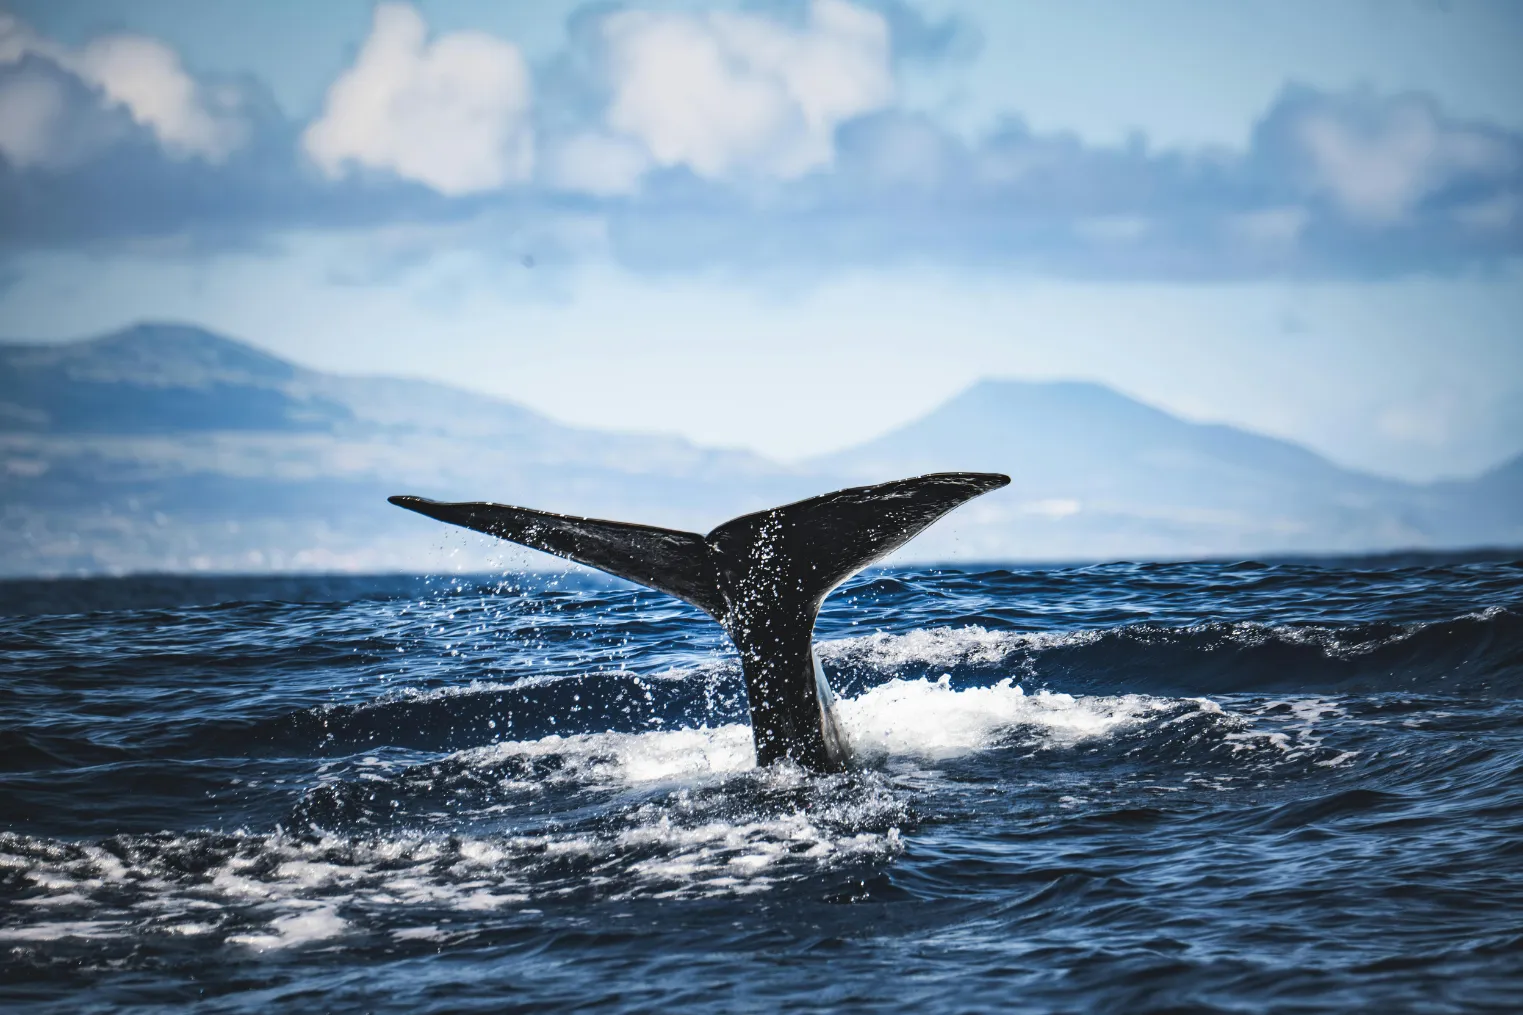
On a whale watch, your iPhone can do more than you’d think if you get three things right: focus, zoom, and timing. You’ll hear the engine hum, feel salt on the rail, and then spot a quick blow that vanishes in seconds. If your phone starts hunting for focus or you pinch into mushy digital zoom, the moment’s gone. A few small moves change that, and the next surfacing might finally give you the shot you came for.
Key Takeaways
- Pre-lock focus and exposure with AE/AF Lock on spray or the water where the whale is likely to surface.
- Use the longest optical lens first, keep zoom modest, and avoid digital zoom when the boat or whale is moving fast.
- Start wide for sudden close surfacing, then switch to telephoto as the whale moves away for detail shots.
- Anticipate movement by aiming slightly ahead of the whale and tracking early when the boat changes direction.
- Use burst mode or Live Photos and brace elbows or the phone on the rail for sharper shots during brief appearances.
Protect Your iPhone Before You Board
Before you even step onto the dock, make sure your iPhone is dressed for the job. Slip it into a waterproof case rated IP68 or better, or use a floating pouch if you want extra insurance against splashes and sudden drops. Add a wrist strap or secure tether, then clip your iPhone to your wrist or life jacket so a lurching boat doesn’t send it overboard. Dress for whale watching in Hawaii with lightweight layers and non-slip shoes so you can stay comfortable while keeping both hands ready for sudden sightings. Pack a dry bag with backup power and a microfiber cloth. Salt spray loves to haze your lens and sap your battery. Turn on Find My iPhone before boarding, and back up your latest photos to iCloud or an external drive. It takes minutes, and it could save the day if the sea decides it wants a souvenir.
Pick the Best Boat Spot for iPhone Shots
Skip the crowded bow and claim a spot on the rear right side of the deck, where you’ll get more room, fewer phones in your frame, and a steadier hold on your iPhone. Stay at deck level instead of heading upstairs, because whales look bigger and more dramatic from lower down, especially when you kneel or brace against the railing. You’ll also want to shift a few seconds early when the captain turns fast, so you stay on the action side and can even sneak in a bird or passenger for scale. These best seats on a whale watching boat can give you a cleaner angle and a more stable shooting position.
Deck-Level Overhead Choice
Claim your spot on the rear right-hand side of the boat if you can, because it’s usually less crowded than the bow and gives you more room to steady your iPhone without a forest of raised arms in the way.
For whale watching photography in Monterey bay, stay on the main deck instead of climbing higher. Deck-level shots make a whale tail look huge and immediate, while second-floor angles shrink the animal and flatten the scene. Kneel, or brace your hip and elbow against the railing, so the boat’s bounce doesn’t blur a fast surfacing. Keep watching the captain too. When the vessel pivots, a small move within five seconds can improve light and framing. Include a gull or passenger for scale in frame. Arriving early for whale watching check-in also gives you a better chance of securing this less crowded deck-level position before the best rail space fills up.
Rear Right Advantage
Head to the back right-hand side of the boat if you want the easiest place to shoot with your iPhone. From the rear right, you usually get more elbow room and fewer phone-only crowds, so composing feels calmer and more precise. You can keep a deck-level angle too, which makes a surfacing whale look bigger against the sea.
That extra space helps you kneel or brace on the rail for steadier point and shoot bursts and better shutter speed results. On a raft whale watching tour off Oahu, the faster ride and closer-to-the-water position can make this rear-right spot feel even more immersive for iPhone shots. Captains often swing the boat to keep whales visible, so this corner stays less jammed when everyone pivots. On the stern, a quick five-second sidestep can also put the whale on your preferred side before the next splash or breathy exhale nearby for view.
Still comparing I Phone Whale Watching Tips: Focus, Zoom, And Timing?
Ask for tour ideas, hotel suggestions, or a simple trip plan that combines both.
Trip Helper
Move With Boat
Settle in on the main deck and let the boat’s motion work for you, because whales look bigger from deck level and your framing feels more immediate.
Head to the back right-hand side, where you’ll usually find more room and fewer phone-only shooters. Stay loose and move with boat when the captain turns. A five-second reposition can put the Whale off your shoulder instead of nowhere useful. Kneel or brace on the railing so you can pan smoothly. Use gulls or people for scale. Start wide to search, then recompose and pinch in with your zoom lens when the whale surfaces. If you’re heading out from Honolulu Harbor, give yourself extra time at departure so you can claim a stable shooting spot before the boat fills in. Salt spray, engine hum, and a slick black back will tell you where to aim next time you’re ready for another pass soon.
Use the Best iPhone Lens for Whales
Zoom in with the best optical lens you’ve got, because whales rarely wait around for a second try. Use your longest optical option first for distant blows, dorsal fins, and tail flukes. It beats crop-heavy digital zoom every time, especially with killer whales. For fast-moving sightings, prioritize optical zoom over digital zoom to keep whale details sharper at a distance.
Reach for your longest optical lens first; whales vanish fast, and true zoom beats digital crop when the moment finally breaks.
- Start wide when a whale suddenly surfaces beside the boat, all black gloss and spray, then switch fast as it slides away.
- Raise your iPhone to eye level, brace on the rail, and pick the lens that still holds a shutter speed near 1/2000s.
- Shoot bursts with the tele lens, and include birds or a bundled stranger for scale so the frame doesn’t feel empty.
If you’re testing gear on a new account, try 2x to 3x first, or 100 to 400mm add-ons.
Lock Focus Before the Whale Surfaces
A long lens helps, but sharp whale shots usually start a second earlier with focus already locked. Before the blow, tap and hold where you expect the whale to appear, then keep that point ready. If you anticipate timing for a fluke or breach, aim slightly ahead of the last movement so your phone matches the whale’s forward glide. The best time to record whale breaches is when you are already focused and ready before the action starts. Make your pre focus practice specific. Tap on a whale-sized patch of water, not the bright sky or glittering reflections that fool autofocus. On deck, stabilize stance, raise the iPhone to eye level, and track from your hips as the boat rolls. If the whale dives, keep your focus near the last swirl and reframe fast when it returns again. Salt spray waits for no one.
Use AE/AF Lock for Cleaner Whale Shots
You’ll get cleaner whale shots if you tap and hold to lock focus before the whale surfaces, so your iPhone doesn’t suddenly chase the water or sky when the boat rocks. Once AE/AF Lock is on, keep exposure steady on bright spray and foam, then nudge it up or down if the mist turns harsh or washed out. It’s a small move, but it can save that slick dark back from looking like a smudge in a field of glitter. For better whale watching photo tips, try anticipating the whale’s next surface so you’re ready to shoot at the right moment.
Lock Focus Before Surfacing
Wait for the whale to surface, then make your phone behave. Tap and hold in the viewfinder to trigger AE/AF Lock before the action starts. Aim at the last blow or fluke and judge the pre surface distance. If the whale is far off, lock on a gull or buoy at the same range, then reframe. That simple bit of focus lock etiquette keeps autofocus from panicking during a one to three second appearance. For smooth ocean footage, brace your elbows and move the phone slowly instead of chasing every ripple. Skip manual focus apps unless you already know them well.
- Picture a dark back rising exactly where the water just wrinkled.
- Hear the quick hiss of a blow while your burst starts firing.
- See ten sharp frames stack up as the splash fades, instead of one soft maybe-shot for your reel.
Hold Exposure On Spray
Focus lock gets the whale sharp, and exposure lock on the spray keeps the whole scene from turning into a bright white mess. Tap and hold on the mist until AE/AF LOCK appears. That freezes focus and exposure together, so your iPhone won’t let dynamic metering brighten the spray and darken the whale. In backlit water, you keep highlight retention and preserve spray texture instead of a blank white puff. If the blow looks tiny, zoom in first, lock on it, then recompose or zoom out. Fire burst mode away, because breaches and slaps vanish fast, and your frames stay consistent. For first-time adventurers, practicing this lock before whales surface makes the whole process feel simpler step by step. If clouds slide over or the boat swings, release the lock and reset on the new spray before the light fools you again.
Adjust Exposure for Glare and Bright Water
On bright water, your iPhone can get fooled fast by glare, silver chop, and the white burst of whale spray. Tap the brightest patch, then slide down for manual exposure so the sea keeps texture and spray stays crisp. Use AE/AF LOCK on the whale or plume so reflective water doesn’t keep re-lighting the frame. Turn on HDR in hard sun, and after locking, nudge exposure to about -0.5 to -1.0 EV. Whale watching boats often keep a respectful viewing distance, so locking exposure early helps when the whale appears small against bright water.
- A black back rises against mirror-bright water.
- Sun sparks skip across glare hotspots like tossed coins.
- A blow flashes white, then holds detail instead of turning blank.
If you’re backlit, tap the whale and lift exposure only a little. Polarized filters can help, too, in third-party apps if available.
Hold Your iPhone Steady on Deck
Good exposure helps, but a rocking deck can still turn a great whale moment into a blurry smear. Plant your feet shoulder-width apart and bend your knees a little so the boat’s roll doesn’t throw you off. Try elbow bracing by tucking your arms into your chest. Then lean on the rail with your forearm under the phone for a tripod-like hold. If the boat offers rail padding, use it, or rest your phone on a beanbag or soft lens cap for extra stability. Keep controls within easy reach. Turn on image stabilization, then use burst mode or Live Photos when the whale moves fast. If you’re prone to seasick whale watching in Oahu, set up your camera grip early so you’re not fumbling with your iPhone once the boat starts rocking. Finally, use wrist tethering so one sudden lurch doesn’t send your iPhone swimming. The ocean gets enough gadgets already.
Zoom Smart Without Killing Image Quality
Start with your iPhone’s optical reach, not the tempting pinch-to-the-moon move. Use the telephoto lens first. That optical first strategy keeps detail in the slick curve of a whale’s back and the sparkle around a blow. Brace against the rail, keep your zoom modest, and avoid digital zoom when the boat jitters. If whales surface far from the boat, binoculars for whale watching can help you spot blows and fins before you raise your phone.
- A dark fin cuts silver water.
- Mist hangs above a sudden exhale.
- Ripples shimmer like crumpled foil.
If you need more reach, shoot burst or video at optical zoom, then crop later. video frame extraction often beats mushy in-camera zoom. Keep Smart HDR or Deep Fusion on at lower zooms. In dim light, switch wider and crop later rather than pushing noisy magnification. Your files stay cleaner, sharper, and surprisingly flexible afterward too.
Time Shots Around Whale Behavior
Sharp zoom helps, but timing is what turns a distant splash into the shot you keep. Watch for three blows and an arched back. That pattern usually means a plunging dive and an imminent fluke-up, so raise your iPhone about five to ten seconds early. Good anticipatory timing beats fast thumbs. If you see turbulence, circling birds, or tight baitfish, expect bubble-net feeding and stay ready. During long surface intervals, keep scanning instead of dropping your phone. Use other passengers as spotters and call quick positions like “three o’clock.” That tiny reposition helps with distance estimation and framing. When whales repeat breaches or slaps, stay alert. Repeat performers rarely wait for anyone. The ocean gives clues, and you get better when you trust them. In Hawaii, mother and calf humpbacks can be easier to anticipate because calves often surface more frequently and stay close beside the adult.
Use Burst Mode for Breaches and Slaps
When the water starts to build toward action, switch to burst mode and let your iPhone rattle off frames instead of betting on one perfect tap. Watch for pre-breach clues, then use anticipatory timing. Tap and hold focus and exposure on the whale for focus tracking and steadier brightness before the burst starts.
- A pair of blows hangs in cold air.
- The back arches like a drawn bow.
- A tail or pectoral fin smacks the surface, loud as a wet applause.
These tail slaps and pectoral slaps can signal communication, warning, play, or attempts to stun prey, so they are often worth anticipating as photographic action cues. Fire one to two seconds early. Keep shooting through the splashy landing. Use the highest burst rate by holding the shutter or pressing volume up. Add stability techniques too. Kneel or brace on the rail. Boat wobble won’t ruin every frame that way.
Shoot Video When Whale Action Gets Fast
When a whale suddenly breaches, lunges, or smacks the water with a fin, you’ll get more usable footage if you switch to video and follow the motion smoothly. You can set a high frame rate, hold your iPhone steady with both hands, and stay a little zoomed out so the whale doesn’t leap right out of your frame. Keep rolling a few seconds before and after the splashy moment, because these fast wild bursts end fast and your phone can catch details your eyes might miss. On Oahu, whale behaviors like breaching, fin slaps, and lunges can happen quickly, so staying ready helps you capture more of the action.
Use Video For Bursts
Switch over to video as soon as the action speeds up, because a breaching whale or a hard tail slap can outrun your timing in still mode. On your iPhone, shoot short 10 to 30 second clips at 60 fps or higher, and use slow motion if your phone allows it. Keep a steady tripod feel by bracing on the railing, zoom out a touch, and let audio capture the gasp, splash, and wind. These boat shooting tips help you stay steadier on a moving deck when whales surface without warning.
- A black tail lifts, shines, and smacks the water.
- White spray hangs while the whale drops back.
- Your clip holds the whole burst, so later you can grab sharp stills, check detail, and crop lightly without filling your storage with endless footage you’ll never want to sort.
Follow Motion Smoothly
Video helps most once the whale stops giving you neat, predictable beats and starts moving like a tossed shadow under the surface. Switch to video, turn on stabilization, and hold your iPhone with both hands. Keep a wrist strap on if the boat bucks. Frame wider than feels necessary. You can crop later. Use smooth pivoting, anticipatory stepping, and naval balance to track the whale with your body, not twitchy wrists. On small group whale watching tours in Oahu, fewer passengers can make it easier to hold position at the rail and keep your tracking line clear.
| Do | Why |
|---|---|
| Shoot 4K/60 or 1080/120 | You can slow clips and pull cleaner stills |
| Step to the rail and pan wide | The whale stays centered despite fast turns |
That steadiness keeps spray, glare, and engine shiver from spoiling footage.
Capture Fleeting Behaviors
Anticipate the burst of action and hit record the moment the whale starts telegraphing its next move. Switch to video right away, because breaching and lunge feeding vanish in seconds, and video usually catches more than a single frame. Use your highest frame rate, lock AE/AF, and brace both hands on the rail so the clip stays sharp. Breaching often happens without warning, but watching for arched back movements and repeated blows can help you catch the moment sooner.
- Three blows, then an arched back. Those are classic anticipation cues.
- Bubble-net turbulence fizzing beside the boat. Your composition timing matters now.
- Repeated fin slaps, spray, and the hollow smack on water. That’s where audio pairing adds life.
If your iPhone offers 60 or 120 fps, use it. You’ll keep detail, tame blur, and get smooth slow motion later for replay on shore.
Photograph Blows, Flukes, and Pectoral Slaps
When a whale starts to show you its best moves, your iPhone has to be ready before the splash. Brace on the rail, tuck your elbows, and follow the ambient soundscape for spotter cues. Skip slow shutter panning here. You need burst mode and fast timing. If you catch a whale spyhopping above the waves, keep shooting because that curious peek can disappear in a second.
| Moment | What to do |
|---|---|
| Blow | Shoot just after exhale peaks. |
| Fluke-up dive | Watch for three blows, then an arched back. |
| Pectoral slap | Use 1/2000s or faster, ideally 1/4000s. |
| Lens choice | Use telephoto to isolate action, then go wide if it’s close. |
Use high contrast backgrounds only if they don’t fool focus. Start continuous shooting before the tail rises, then keep firing for several seconds. Mist, foam, and wet skin vanish fast. Your phone shouldn’t.
Frame Whale Photos With Scale and Context
To show just how massive a whale is, you should frame in birds, a person, or even a hand holding binoculars so the size reads instantly. You’ll also get stronger, more dramatic photos from the boat deck, where a lower angle lets the whale loom larger and keeps the water, rail, and splashy surface action in view. If the whale stays far off, zoom in for detail, then grab a wider shot too so you can show the full scene and give that giant body some ocean to live in.
Include Birds Or People
Often, the easiest way to show a whale’s true size is to include something familiar in the frame. On your iPhone, zoom out so the whale and nearby bird silhouettes or a human foreground stay sharp together. Tap to lock focus and exposure, then use burst mode when the action builds. You’re waiting for mixed distance to click into place, not forcing it.
- Let gulls or terns cross beside a feeding whale so their small wings sketch instant scale.
- If birds vanish, place a person by the rail, or lift a phone or life jacket into the foreground.
- Compose by thirds: whale on one side, your scale cue on another, and snap when they line up. Timing beats luck, though luck loves prepared hands.
Show Environment And Scale
Scale gets even clearer if you stop chasing only the whale and let the whole scene into the frame. Include the boat rail, bow, or a bundled passenger in the lower third so viewers instantly read distance and proximity. Those foreground anchors make the animal feel immense, not abstract. If your boat’s close, zoom out or switch to the iPhone ultra-wide and keep ocean texture plus horizon cues in view. Wait for a gull to cross near the blow or frame a flock above the back. That relative perspective can make a whale look gloriously outsized. When it’s farther away, include splashes, baitfish slicks, or another vessel to show scale and the busy water around it, without losing the whale’s quiet drama and power.
Decide When to Use More Than an iPhone
Start with your iPhone, because it handles most whale-watching moments surprisingly well when the boat rocks and the light keeps shifting. Use it until your gear thresholds show up. Good distance estimation matters. If the whale fills only a tiny patch of sea beyond about 100 to 200 feet, your phone may run out of honest detail.
- A blow hangs like mist on steel-blue water far off.
- A breach erupts, then vanishes before you finish cropping.
- A close fluke rises beside the hull, loud as a wet rug slap.
Bring a 100 to 400mm lens, or a 70 to 200mm with a 2x teleconverter, for distant action. Keep emergency backups simple. If you can’t manage fast shutter speeds and ISO quickly, stick with the phone.
Frequently Asked Questions
How Do I Protect My iPhone From Salt Spray After the Trip?
Rinse your iPhone gently with fresh water, dry ports thoroughly, and remove your waterproof case. You should do lens cleaning, air-dry it in shade, then use corrosion inhibitors or isopropyl alcohol on contacts if needed.
Should I Enable Live Photos During Whale Watching?
Yes, until the breach suddenly happens, you won’t know which frame matters. Enable Live Photos when you want to capture motion and gain edit flexibility, but disable them during long sessions to conserve battery and space.
How Much Storage Space Should I Free Before Filming Whales?
You should free 10–20 GB for High resolution footage, or 5–10 GB for photos and HD clips. Turn on Compression settings, keep 1–2 GB of Buffer headroom, and offload files if you’re filming longer sessions.
Can Polarized Sunglasses Affect How I Compose Shots on My iPhone?
Absolutely, polarized pairs can skew your iPhone composition. You’ll notice polarization effects darken water, mute highlights, and alter lens reflections. For better glare management, briefly remove them, then trust your screen before you tap the shutter.
What Whale Watching Etiquette Helps Me Avoid Disturbing Marine Wildlife?
You’ll disturb whales less when you keep distance, minimize noise, and avoid feeding. Follow your captain’s instructions, move slowly on deck, don’t crowd one side, and never cut across a whale’s path or startle animals.
Conclusion
With a little prep, you’ll come home with whale shots that feel alive, not accidental. Lock focus early. Use optical zoom. Start filming before the splashy moment, because humpback breaches can last only a few seconds and whales often surface for just 30 seconds before sounding again. You’ll hear the blow, feel salt on your hands, and catch the black curve of a fluke against open water. That’s good timing, and a little boat rail luck, too.